
Guide to Layering
One of the reasons we love layers so much is because of how extremely cozy it feels. Not only is it cozy, it provides depth, interest, and character. We have been asked to share some styling types for layering, so you’ve got it! Here is a break down of all the awesome ways you can create piques of interest in your home with layers.
Bedding
While it may feel like the natural place for layers, getting the right amount of bedding and the placement of it can be tricky! There are 3 main things to keep in mind:
Are your layers appropriate for your room environment and season?
Do they have a variation of textures?
Do they have variation in color/pattern?
If you can answer yes to these questions, you are on the path to beautiful bedding.
Work your way up.
You want to start from the ground up. This is because many of the underlayers get tucked in and hidden and you don’t want to have to undo anything not needed, by going in the wrong order. Take a look at your bed and determine if it is a platform bed or a regular bed. If it is a platform bed, chances are a bed skirt is not the best option. Platform beds often have lovely structures to showcase and can actually be part of the layers themselves! Upholstered platforms for example are minimalist, modern, and chic. Bed skirts can add a layer of lush on the floor and make the bed feel extra important. Bed skirts can be purchased for all sizes: King, Queen, Full and Twin. Choose something structured and boxy for a more mature look, and something with free flowing lines and curves for a more warm and whimsical feel.
Next: Sheets.
This is a great way to bring in a pop of color. Having mismatched fitted and flat sheets is fun and elegant. Think of beds in a B&B. They are usually appealing and comforting as they bring in various patterns and colors to their sheets. Matching your sheets in a way that they can go together is much like matching outfit components, or throw pillows. The sheets should balance eachother as well as compliment eachother. If you choose a neutral fitted sheet in tan for example, maybe use a flat sheet that has pops of a similar color and a pattern.
Pro tip: When making your bed, put the flat sheet upside down, so that when you fold it over the comforter, you see the pop of pattern and color!
Bed toppers
After you have chosen your sheets—it’s time for your duvet, comforter, or quilt.
What is a duvet?
A duvet is essentially a cover for your comforter. Traditionally they are to cover down blankets, but can be used to change up your existing cover. Duvets have buttons or fasteners on one side so you can enclose your cover. Pro tip: When replacing the duvet cover, fold it inside out and put your hands in the corners. Grab your comforter from corner to corner with your hands in the duvet and flip the whole thing rightside in. That will help you get it all in there at once!
If you are opting for something other than a duvet, like a quilt or other blanket, it should really anchor the bedding. Allow it to center the bed by having a neutral, non competitive pattern and color. It will be very eye catching when you walk in the room! If that is what you want, go with something that stands out like a dark color, satin texture, or even velvet.
Some people choose to add a second blanket in one of two places:
Under the comforter in case they get too cold or too warm, and to add more layers of interest when folding the bedding over.
At the end of the bed or on top like a throw or folded quilt.
This was the final bedroom photo from one of our client’s home remodel. It shows a modern platform bed with an upholstered headboard and lots of luxurious layers. We loved how this home came together!

Pillows
Pillows are the last layer of cozy. You will want at least 2 pillows across the back; 1 for each person to use. You can add a second back pillow. Some people like standard size pillows and some like Euro pillows. Euro pillows are square and come in a specific dimension. You can buy shams for both styles. Shams can match other parts of your bedding or be neutral. This can be functional or decorative. To add some interest, place throw pillows in the center front of the backing pillows. Have fun! Choose mismatched patterns and textures like velvet and satin, or leather and cotton, or choose different sizes like square vs. lumbar pillows.
That wasn’t so bad right?


Art
We love a good gallery wall. (Chef’s kiss). We also love a shelf with layered art!
Art might not be your first instinct to layer, but it definitely creates a focal point of interest.
If you aren’t sure where to start we suggest two things:
Find an exising mantle, table top, piano, or dresser where the wall is blank and ready for art.
Add a shelf specifically to hold layered art.
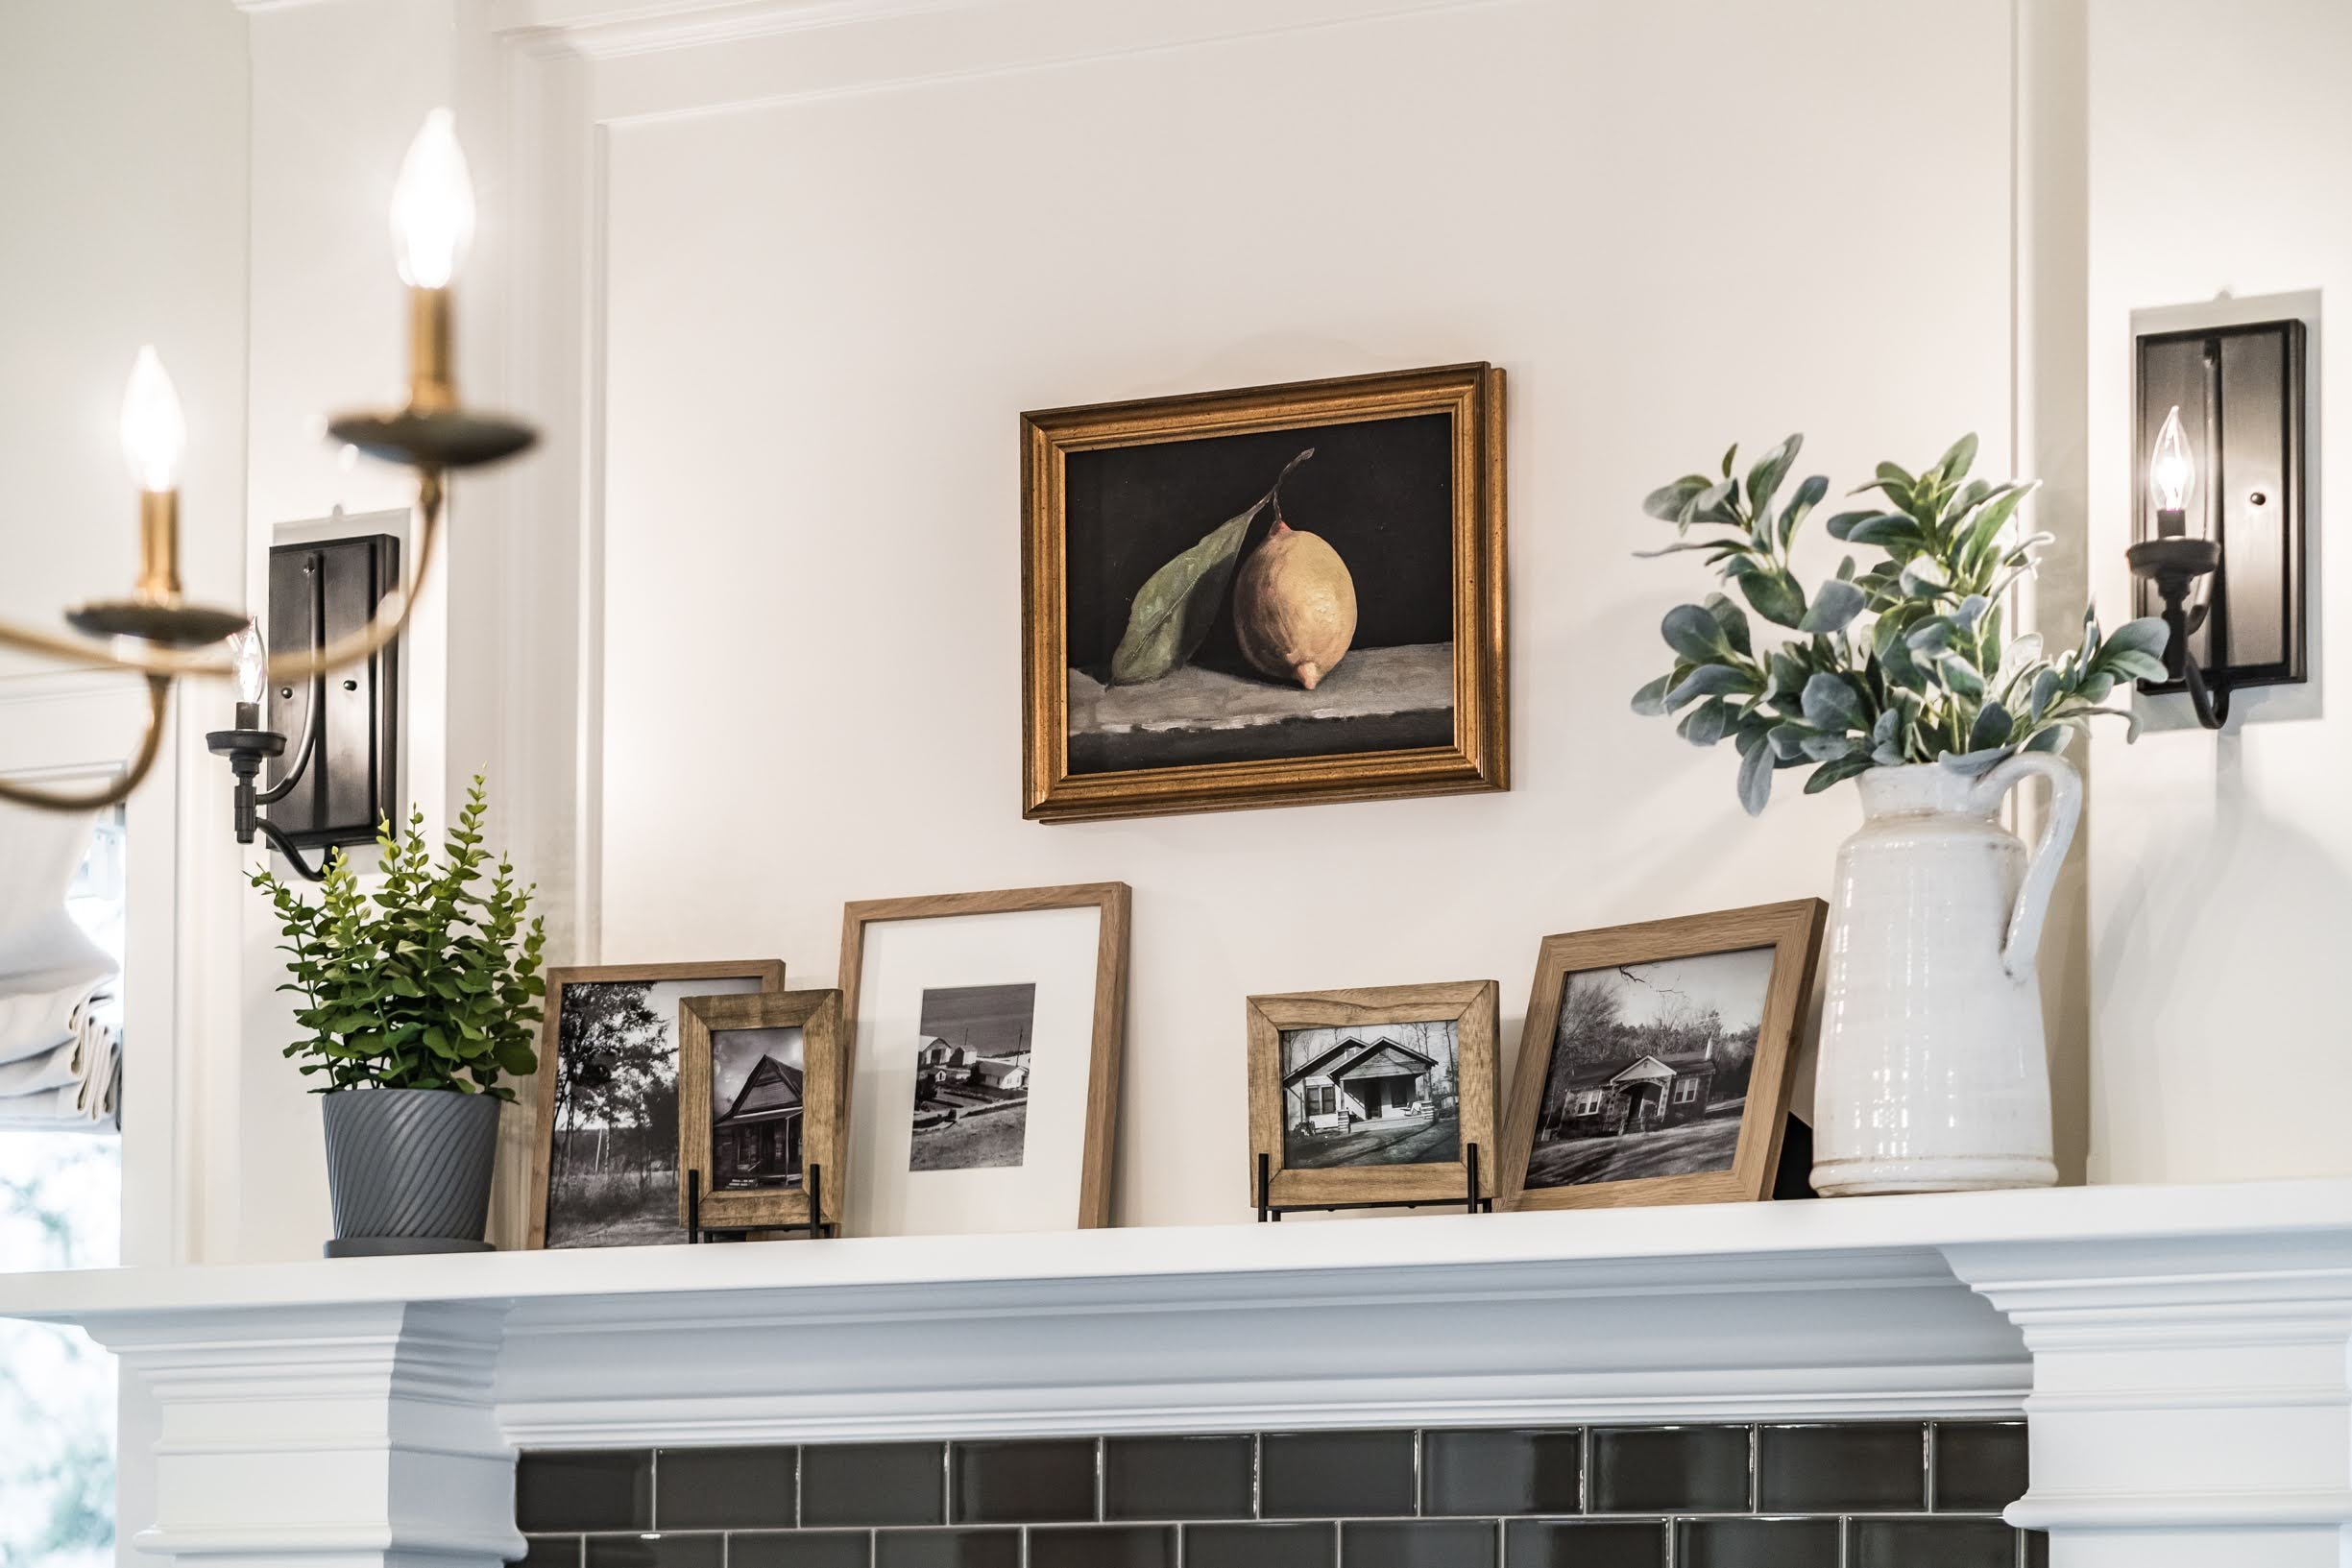
Layering art is all about balance. Find pieces you like in various heights and widths with alternating frames and subjects for maximizing interest! Put the two tallest art pieces towards the middle and fill in the gaps with smaller art work.
Or, get asymmetrical with it! As long as the bigger focus has balance you can mix up the styling. Try overlapping just a little to get that truly “layered” look.
Don’t be afraid to use art subjects that don’t entirely go together. The goal is to be cohesive, not “matchy-matchy”.
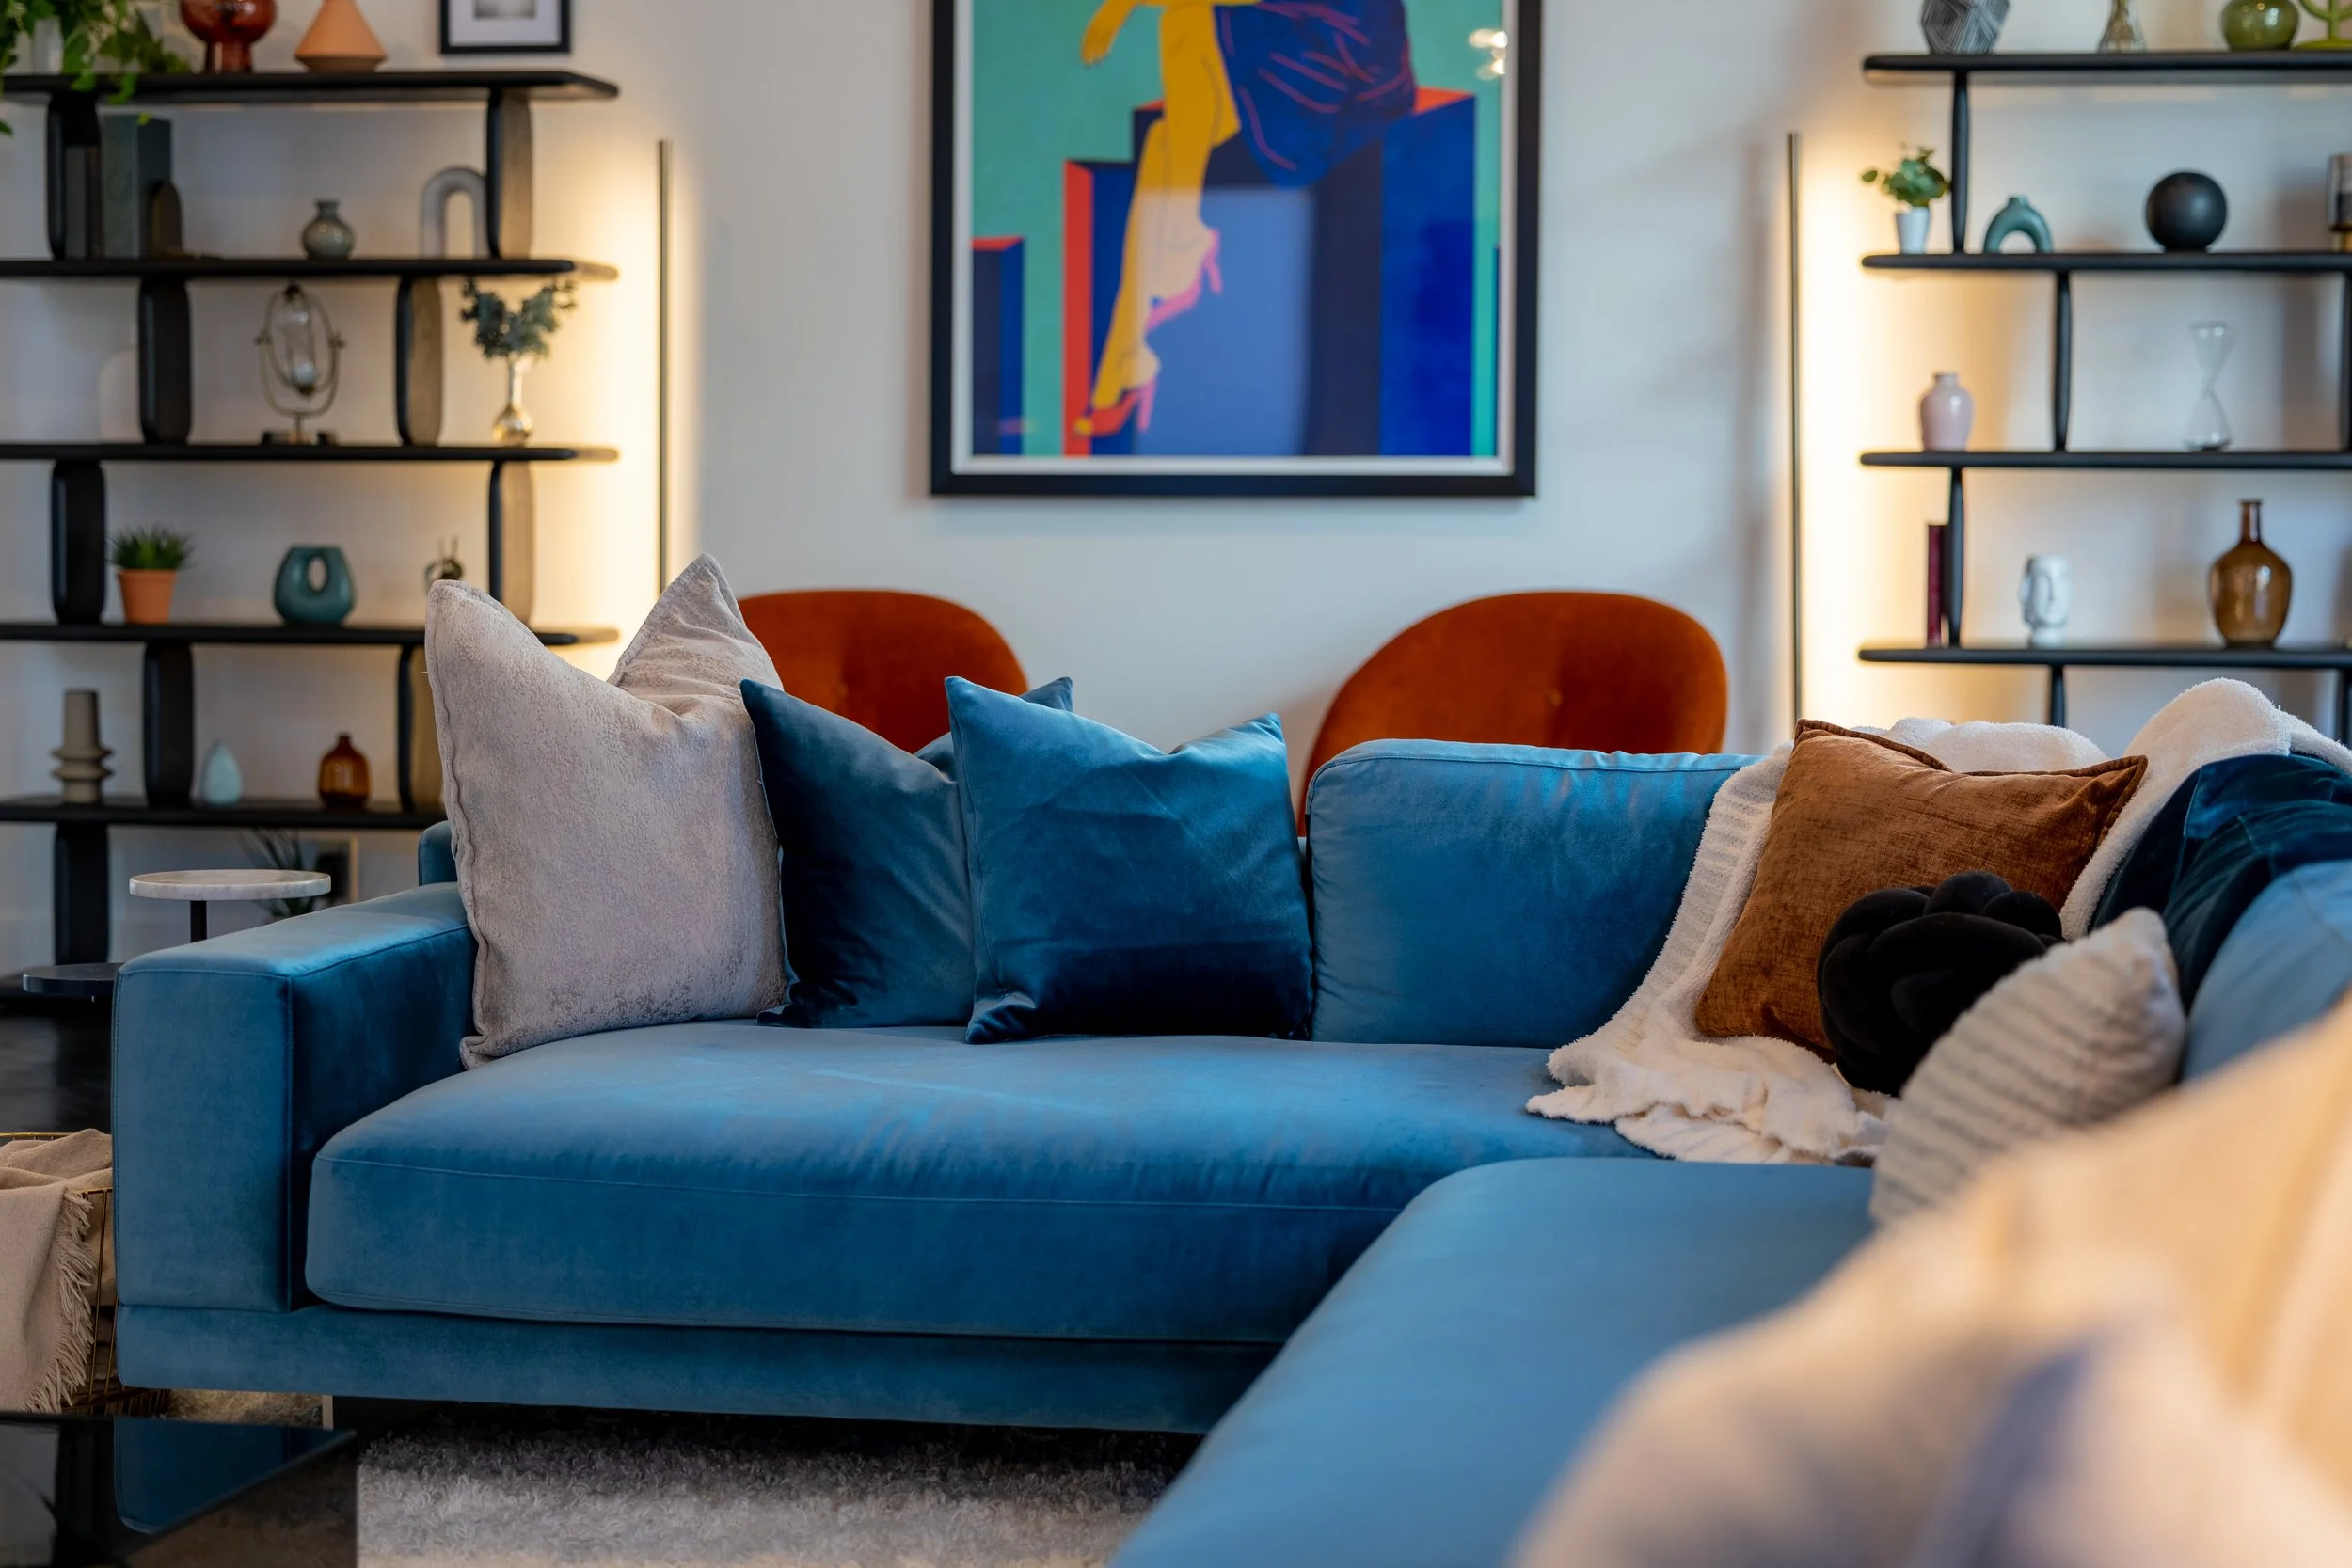
Accessories
Lastly, let’s cover layering accessories!
Accessories in your home provide a fun sense of personality, give the space an overall style, and showcase your “collections”.
It can be anything from items on a coffee table, throws on your lounge chair, to shelf decor.
For an awesome refresher on shelf styling, check out our blog here: Super Simple Shelf Styling — Autumn Rose Interiors
Using much of the same tools as the shelf styling guide, you can get the same look with layering accessories. Try using the “zig zag” test and see if your accessories are balanced. If you are styling a console table for example, try putting some taller items in the back. Vases, greenery, picture frames, and lamps are all good choices.
As you work your way in, choose a variety of textures. You might try mixing metals with wood for example.
Check out this styled console we did for one of our clients!

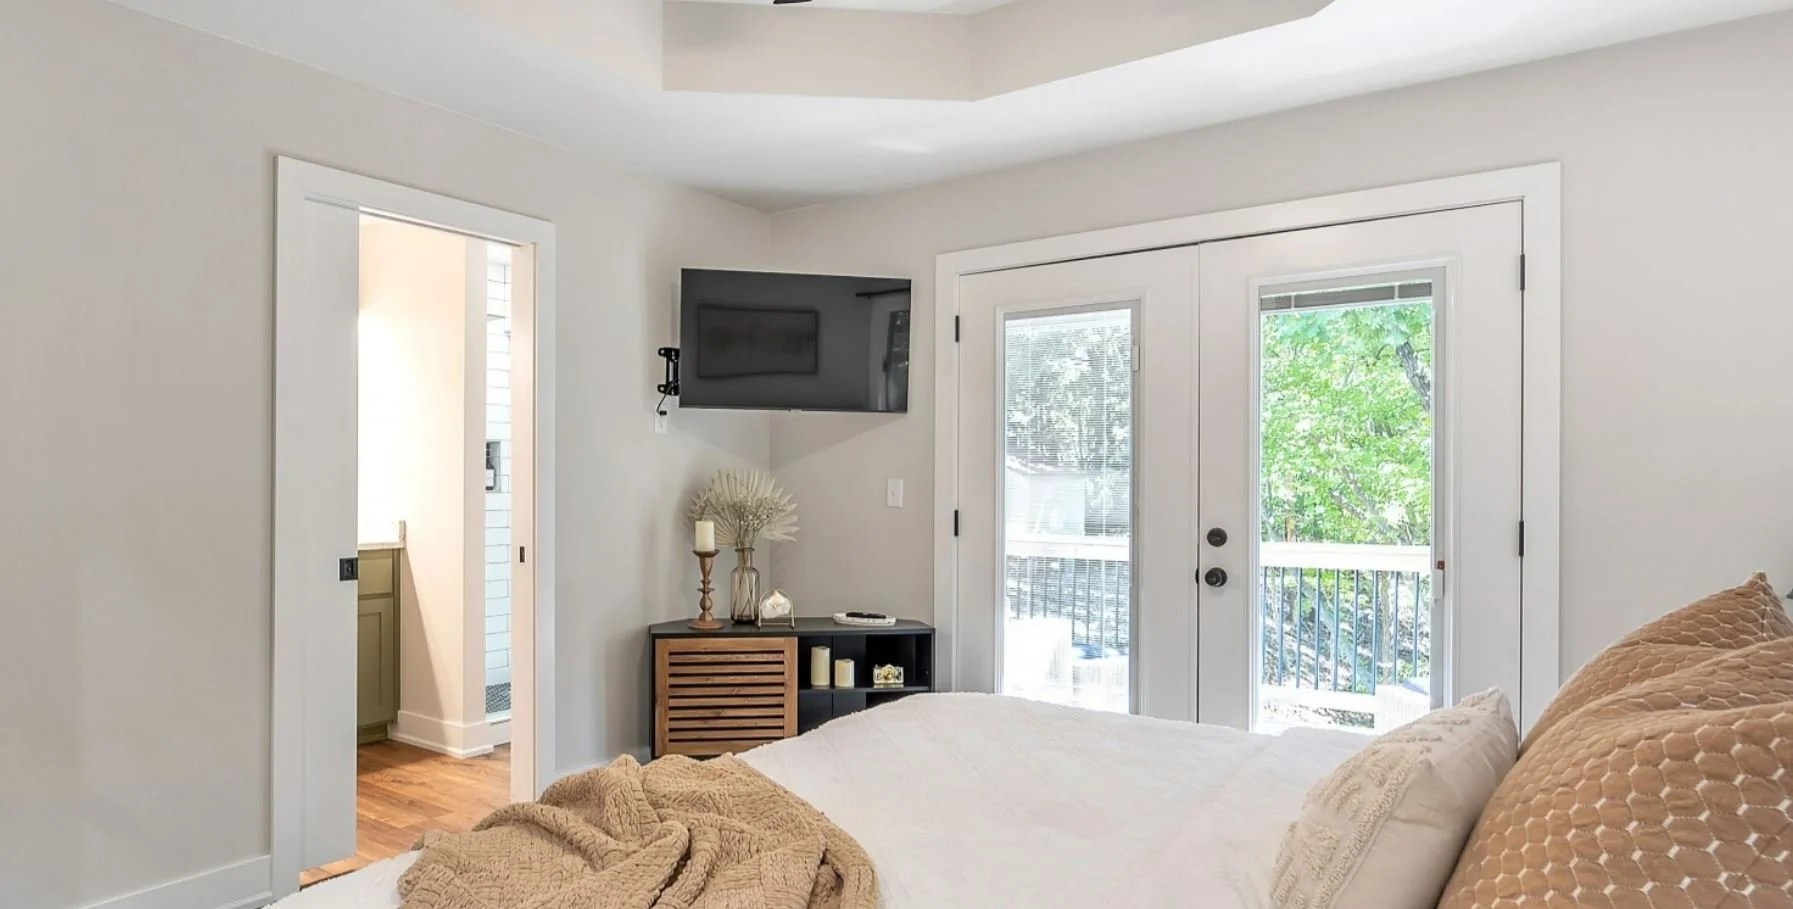
Here is another styled media console in this master bedroom for one of our clients.
We hope you found these tips helpful—and you are ready to start layering in your own home! It doesn’t have to feel overwhelming. Start simple and give it a try! If you don’t love it, move it around and try again! What other styling guides would you like us to showcase? Feel free to find us on Instagram: @autumnroseinteriors and send us a DM!
